Tutorial Intro
This tutorial will get you started with the most important and frequently-used features of Relay. To do that, we’ll build a simple app that displays a newsfeed. We will cover:
- How to fetch data using Queries.
- How to make components self-contained by breaking Queries into Fragments.
- How to paginate through data with Connections.
- How to update data on the server with Mutations and Updaters.
This tutorial assumes a fair familiarity with React. If you’re still new to React, we suggest going through the React tutorial and working with React until you’re comfortable with creating components, passing props, and using the basic hooks such as useState. The tutorial is based on the Web, but Relay also works great with React Native.
This tutorial is built with TypeScript, so very basic knowledge of TypeScript is helpful as well — you don’t need to know anything beyond declaring and importing types and annotating functions. Relay can also be used with the Flow type system or without a type system.
IMPORTANT: The tutorial is meant to be gone through in order, as the exercises build on each other. You’ll be making incremental changes to an example app, so later section won’t make sense if you haven’t done the earlier sections.
To get started, run the following commands:
git clone https://github.com/relayjs/relay-examples.git
cd relay-examples/newsfeed
npm install
npm run dev
This downloads a template project to get started from and starts the server. (If they don’t work, you may need to install git or install npm.)
When you run npm run dev, several processes are started:
- A Webpack-based HTTP server that serves up the front-end code.
- A basic GraphQL server that that front-end will query to retrieve information.
- The Relay compiler, which processes the GraphQL in your app and generates additional files that Relay uses at runtime, as well as TypeScript types representing the inputs and results of your queries. It will automatically regenerate when you save changes in your files.
In the terminal output, these three processes’ log output are marked with tags: [webpack] in yellow, [server] in green, and [relay] in blue. Keep a look out for errors marked with [relay] as these are helpful if your GraphQL has any mistakes.
Now that these processes are running, you should be able to open http://localhost:3000 in your browser.

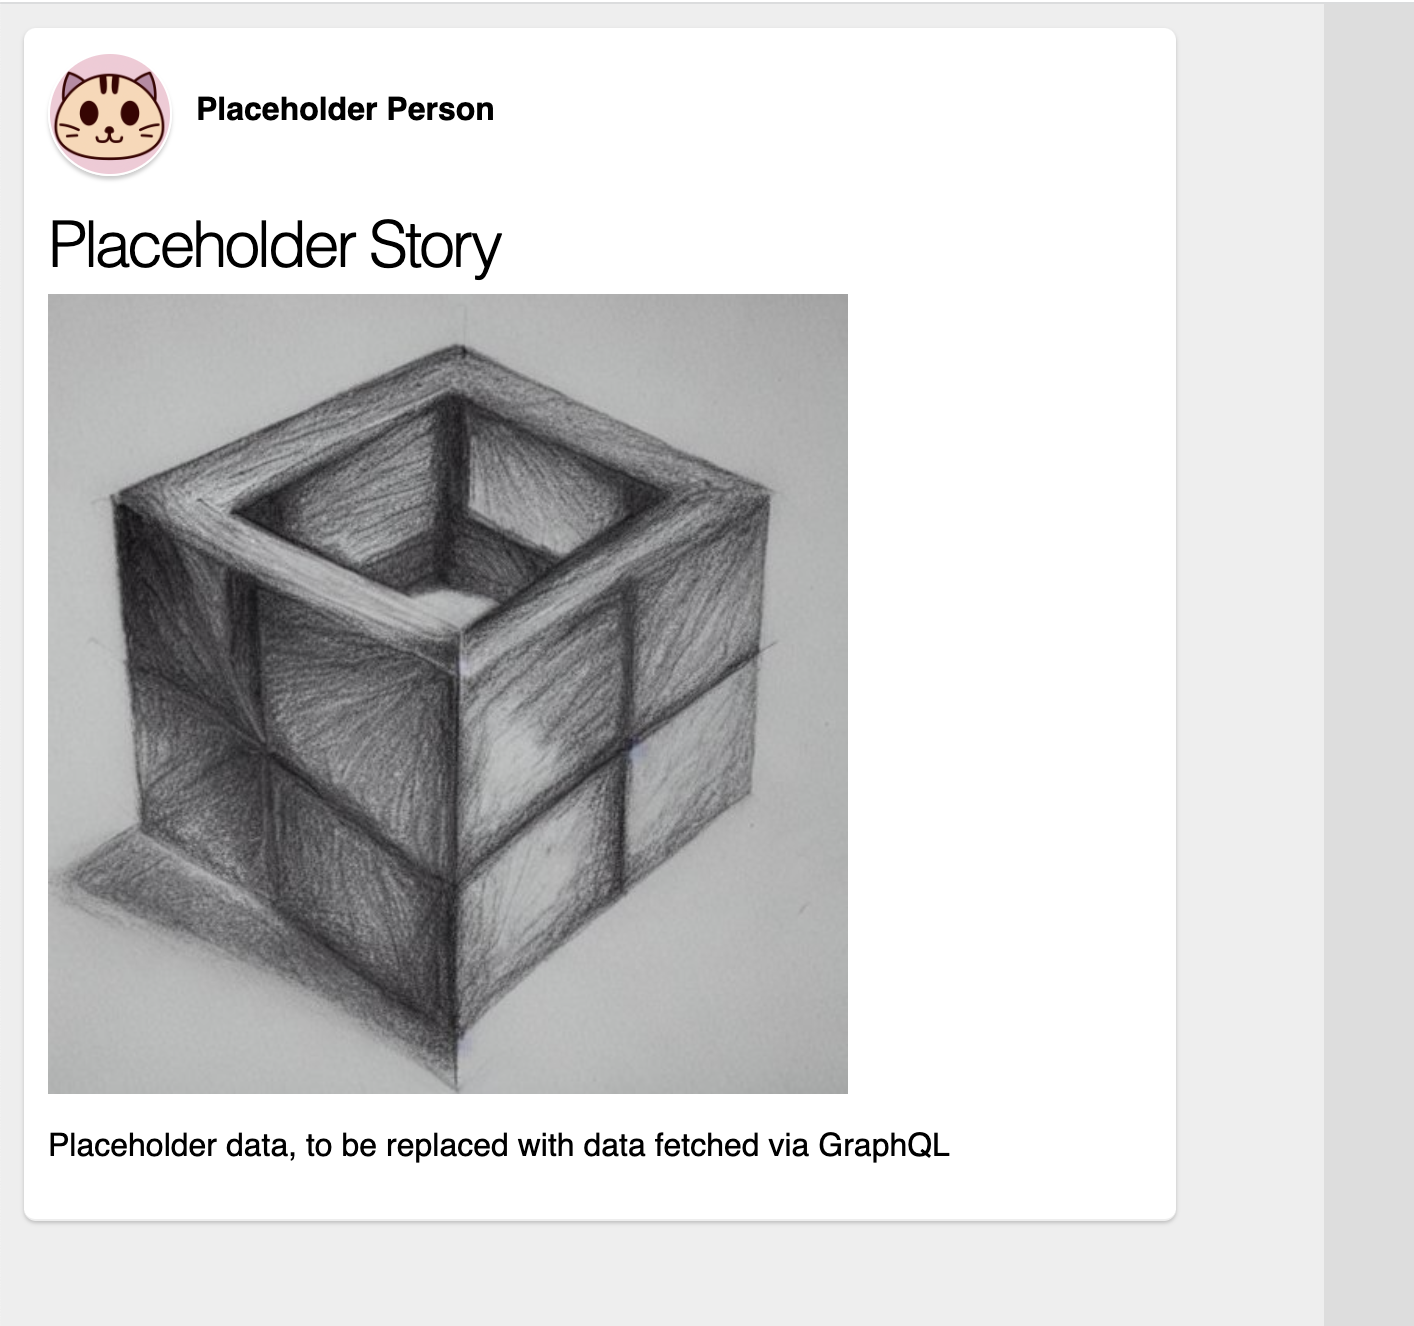
We start from a webpage that shows a single Newsfeed story rendered with React, but the data for that story is just placeholder data hard-coded into the React components. In the rest of this tutorial, we’ll make the app functional by having it fetch data from the server, paginate over multiple stories, and update the data by commenting and liking.
The files that make up the example app are laid out in this way:
src/components— the front-end app components that we’ll be modifying and working with. Some of the important components are:App.tsx— the top-level componentNewsfeed.tsx— a component that will run a query to fetch newsfeed stories and display a scrolling list of stories. At the beginning of the tutorial, this component uses hard-coded placeholder data — we’ll modify it to fetch data via GraphQL and Relay.Story.tsx— a component that shows a single newsfeed story.
server— a very basic GraphQL server that serves up example dataserver/schema.graphql— the GraphQL schema: it specifies what information can be queried from the server via GraphQL.
Finally, you may want to install the Relay VSCode extension for autocomplete, errors, and other help when using VSCode.
Head over to the next section to start learning about GraphQL and Relay.